Скачать с ютуб 2018+ Harley Davidson Softail Rear Wheel removal and install в хорошем качестве
2018+ Harley Davidson Softail Rear Wheel removal and install
1 год назад
Скачать бесплатно и смотреть ютуб-видео без блокировок 2018+ Harley Davidson Softail Rear Wheel removal and install в качестве 4к (2к / 1080p)
У нас вы можете посмотреть бесплатно 2018+ Harley Davidson Softail Rear Wheel removal and install или скачать в максимальном доступном качестве, которое было загружено на ютуб. Для скачивания выберите вариант из формы ниже:
Загрузить музыку / рингтон 2018+ Harley Davidson Softail Rear Wheel removal and install в формате MP3:
Если кнопки скачивания не
загрузились
НАЖМИТЕ ЗДЕСЬ или обновите страницу
Если возникают проблемы со скачиванием, пожалуйста напишите в поддержку по адресу внизу
страницы.
Спасибо за использование сервиса savevideohd.ru
2018+ Harley Davidson Softail Rear Wheel removal and install
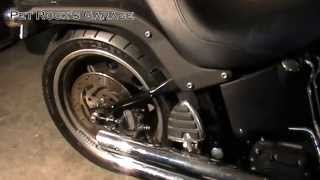
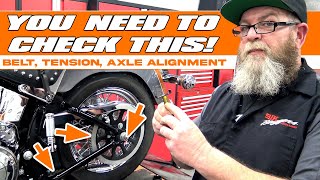
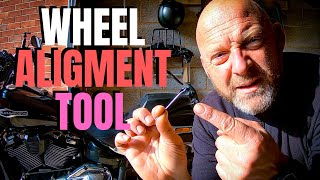
I had to change the rear tire on my Harley Davidson Sotail Sport Glide. These are the Steps to remove and reinstall the rear wheel from the shop manual; 1. Remove main fuse. See POWER DISCONNECT (Page 7-8). 2. Remove saddlebags, if equipped. See SADDLEBAGS (Page 3-151). 3. Measure wheel alignment. See WHEEL ALIGNMENT (Page 3-34 ). 4. Remove belt guards, if necessary. See BELT GUARDS (Page 3-89). 5. FXDRS: Remove rear lighting bracket, if necessary. See REAR LIGHTING BRACKET (Page 3-129). 6. Remove muffler, if necessary. See MUFFLERS (Page 6-35). 7. Raise rear wheel. See Secure the Motorcycle for Service (Page 2-3). 8. Check wheel bearing end play. See SEALED WHEEL BEARINGS (Page 3-26). NOTE Do not operate rear brake pedal with the rear brake caliper removed. Without the rotor, brake pressure forces the pistons out of the piston bores. Seating pistons requires caliper disassembly. 9. Remove rear brake caliper. See REAR BRAKE CALIPER (Page 3-47) 1. See Figure 3-7. Remove rear wheel. a. Remove E-clip (13). b. Loosen axle nut (12) using axle nut torque adapter. Special Tool: AXLE NUT TORQUE ADAPTER (HD-47925) c. Loosen axle adjuster screws (10) and slide rear wheel forward. d. Remove axle nut and washer (11) or cam (17). 94000737 e. Support brake caliper bracket (2). NOTE FXDRS: does not have a right outer spacer. 3.5 f. Remove rear axle (9 or 18), right outer spacer (1 ), right inner spacer (3) or WSS (4) and left spacer (6). g. Remove drive belt from rear sprocket (8). h. Remove rear wheel assembly. INSTALL PART NUMBER CONSUMABLE 11100001 LOCTITE SILVER GRADE ANTI-SEIZE 1. See Figure 3-7. Install rear wheel. a. Apply a light coat of anti-seize lubricant to rear axle (9 or 18), wheel bearing bores, and bore of wheel bearing spacer (16). LOCTITE SILVER GRADE ANTI-SEIZE (11100001) b. Position rear wheel between rear fork. c. Install rear axle through left spacer (6), left leg of rear fork, and rear sprocket (8). d. Install rear axle through rear wheel. NOTE FXDRS: Does not have a right outer spacer. e. Install rear axle through right inner spacer (3) or WSS (4), caliper bracket (2), right outer spacer (1) and right leg of rear fork. f. Install washer (11) or cam (17). g. Install axle nut (12). Hand-tighten. h. Slide rear axle forward. Install drive belt on front and rear sprockets. 2. See Figure 3-8. Rotate WSS to position shown, if equipped. Verify wire harness is routed correctly. 3. Align rear wheel. See WHEEL ALIGNMENT (Page 3-34). 4. Adjust drive belt deflection. See INSPECT AND ADJUST DRIVE BELT AND SPROCKETS (Page 2-33). 5. Verify drive belt tracking properly
Comments