Скачать с ютуб How to Install Sub-Fascia and Roof Sheathing - Pole Barn Shop Build Part 11 в хорошем качестве
How to Install Sub-Fascia and Roof Sheathing - Pole Barn Shop Build Part 11
5 лет назад
Скачать бесплатно и смотреть ютуб-видео без блокировок How to Install Sub-Fascia and Roof Sheathing - Pole Barn Shop Build Part 11 в качестве 4к (2к / 1080p)
У нас вы можете посмотреть бесплатно How to Install Sub-Fascia and Roof Sheathing - Pole Barn Shop Build Part 11 или скачать в максимальном доступном качестве, которое было загружено на ютуб. Для скачивания выберите вариант из формы ниже:
Загрузить музыку / рингтон How to Install Sub-Fascia and Roof Sheathing - Pole Barn Shop Build Part 11 в формате MP3:
Если кнопки скачивания не
загрузились
НАЖМИТЕ ЗДЕСЬ или обновите страницу
Если возникают проблемы со скачиванием, пожалуйста напишите в поддержку по адресу внизу
страницы.
Спасибо за использование сервиса savevideohd.ru
How to Install Sub-Fascia and Roof Sheathing - Pole Barn Shop Build Part 11
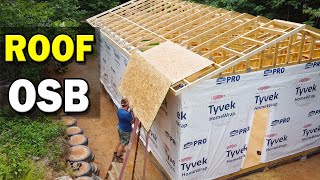
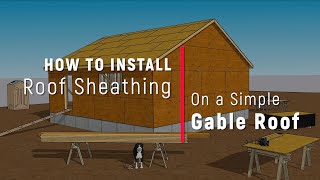
In this video I trim my truss tails by snapping a chalk line, drawing a plumb line down from that line and then using a circular saw to cut them off. Next I install the sub fascia so the top of the 2x6 sub fascia board lines up even with the top of the trusses. I like to use as long of a board as possible in order to keep a nice straight line. For roof sheathing I use 1/2" OSB and line it up with edge of the fascia. You could snap a chalk line 4' up from the fascia to ensure the first row is straight. Leave a small gap between the sheets on at each joint to allow for expansion. I also used H-clips between the rows to allow for expansion. It's important to keep your trusses on 2' centers as you nail the sheathing on to make sure everything stays square. I left the top edge about three inches short of the peak to allow for a ridge vent. To get the 1 foot gable overhang I was looking for, I snapped a chalk line and cut the excess OSB off. Then I attached the rake or gable fascia to finish it off. This is the Bostitch framing nailer I use (Amazon affiliate): https://amzn.to/2THl53e Please Subscribe: https://goo.gl/nPKej8 Follow us: Instagram: / countryfamilylife Facebook: / countryfamilylife
Comments