Скачать с ютуб Create this Popular Effect using ONLY Lightroom Classic! в хорошем качестве
Create this Popular Effect using ONLY Lightroom Classic!
1 год назад
Скачать бесплатно и смотреть ютуб-видео без блокировок Create this Popular Effect using ONLY Lightroom Classic! в качестве 4к (2к / 1080p)
У нас вы можете посмотреть бесплатно Create this Popular Effect using ONLY Lightroom Classic! или скачать в максимальном доступном качестве, которое было загружено на ютуб. Для скачивания выберите вариант из формы ниже:
Загрузить музыку / рингтон Create this Popular Effect using ONLY Lightroom Classic! в формате MP3:
Если кнопки скачивания не
загрузились
НАЖМИТЕ ЗДЕСЬ или обновите страницу
Если возникают проблемы со скачиванием, пожалуйста напишите в поддержку по адресу внизу
страницы.
Спасибо за использование сервиса savevideohd.ru
Create this Popular Effect using ONLY Lightroom Classic!
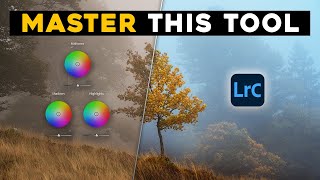
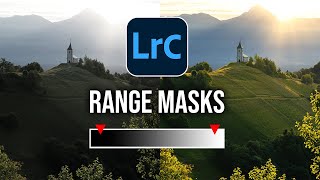
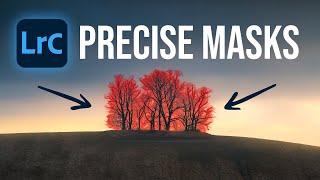
Orton glow is a popluar photo editing effect, especially for landscape photography. Usually its added using software like Photoshop and third party plug-ins but in this #Lightroom tutorial I'm going to show you how to add the Orton Glow effect using only Lightroom! Feel free to download the raw file I was using in this video here: https://drive.google.com/file/d/1MeaD... ▬▬▬▬▬▬▬▬▬▬▬▬▬▬▬▬▬ Thank you for watching my video! ► http://www.the-phlog.com ► Patreon: / phlog ► Instagram: / thephlog ▬▬▬▬▬▬▬▬▬▬▬▬▬▬▬▬▬ 0:00 Intro For this HDR photo I wanted to create a very soft, Orton glow-like look, with rather low-contrast look and enhance the colors some more. All of the editing was done in Adobe Lightroom Classic. 0:32 1. Basic Raw Adjustments I started changing the profile to Adobe Standard which lessens the contrast by brightening up the darkest spots. Then, I slightly adjusted the white balance, bringing the temperature down to make the scene feel colder. As the original raw was rather dark, I pushed the exposure while dropping the highlights to make sure to have details I the sky. Also, I raised the shadows and blacks which helps creating the Orton glow effect (as this lessen the contrast more and that’s a great starting point for glow). 3:17 2. Orton Glow Effect To further work on the glow, I dropped the clarity and the dehaze. Furthermore, I added a bit of texture to sharpen the smallest details of the photo and of course I added vibrance to give the image more saturation. 4:47 3. Masking I added a linear gradient over the sky and made it darker by dropping the exposure. Then, I created a radial gradient over the brightest parts in the sky and made sure to overlap the trees in the foreground. Then, by bringing up the blacks and dropping the dehaze inside of it, I added a stronger glow to this particular area. To bring out some of those green tones in the foreground, I added a color range mask targeting them and then raised the exposure (basically dodging the brightest green tones) 8:32 4. Color Grading First, I slightly brought down the green saturation. Then, I added a rather warm color to the mid-tones and a cold color to the shadows both with low saturation for the split toning.
Comments