Скачать с ютуб Making A Linocut Print from Start to Finish - Featuring Mr. Ritchie в хорошем качестве
Making A Linocut Print from Start to Finish - Featuring Mr. Ritchie
2 года назад
Скачать бесплатно и смотреть ютуб-видео без блокировок Making A Linocut Print from Start to Finish - Featuring Mr. Ritchie в качестве 4к (2к / 1080p)
У нас вы можете посмотреть бесплатно Making A Linocut Print from Start to Finish - Featuring Mr. Ritchie или скачать в максимальном доступном качестве, которое было загружено на ютуб. Для скачивания выберите вариант из формы ниже:
Загрузить музыку / рингтон Making A Linocut Print from Start to Finish - Featuring Mr. Ritchie в формате MP3:
Если кнопки скачивания не
загрузились
НАЖМИТЕ ЗДЕСЬ или обновите страницу
Если возникают проблемы со скачиванием, пожалуйста напишите в поддержку по адресу внизу
страницы.
Спасибо за использование сервиса savevideohd.ru
Making A Linocut Print from Start to Finish - Featuring Mr. Ritchie
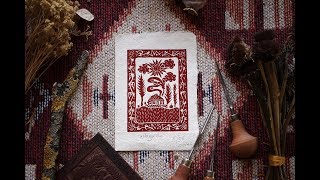
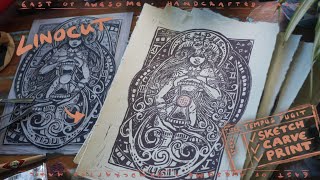
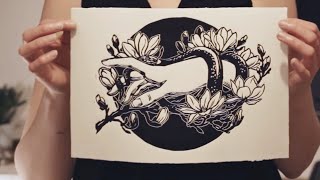
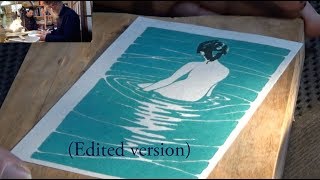
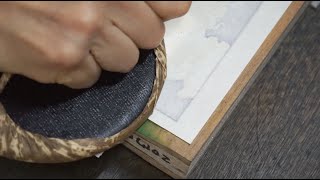
Printmaking is a natural parallel to bookbinding, so when I was recently gifted some pieces of lovely old brown linoleum I knew just what to do with them! Linocut prints often remind me of medieval woodcuts, and I may incorporate them in a future bookbinding project. But first I wanted to make a simple print just to test out the materials. While contemplating a subject my eye fell upon my trusty book press, Mr. Ritchie. Patrick Ritchie was a machine maker in Edinburgh from at least 1828 until 1863. I was fortunate enough to acquire one of his presses last year, and of course I now refer to him by name! This press has a platen size of 12 x 20 inches, and thanks to the 5 inch brass risers (which I suspect were added post-production) it boasts over 8.5 inches of daylight. Most of the time I don't need that much capacity, so I use my paring stone to take up the extra space. The large lever handle on this press exerts a casual power that is simply astonishing, and is perfectly suited to nipping books and, of course, making prints. Linocut is a relatively easy entry into printmaking, as the material is comparatively soft and can be carved with sharp chisels and gouges without much difficulty. This softness can be tricky though, as too much pressure on the tool can result in slips that can ruin the workpiece. The nature of the linoleum also limits how much detail can be achieved in the design, and how long it will last. Only so many prints can be made before the quality of the images begins to degrade. I first sketched my design, then carefully carved away the areas I wanted to remain white when printed. Using professional quality water-soluble printing ink, I made a trial print to identify those parts of the design that required further work. This process was repeated a few times until I was happy with the design. For the finished print I cut down some nice quality laid paper and prepared an alignment guide to line up the printing plate and the paper. Then it was a matter of rolling on just the right amount of ink, placing the paper, covering it with a piece of leather and giving it a good squeeze in the press. The prints were then hung to dry for a day or two. Lastly I numbered and signed each print in the edition. Thanks for watching! ________ You can now buy me a coffee here: https://www.buymeacoffee.com/fourkeys... Or you can drop a tip in my PayPal account: https://paypal.me/FourKeysBooks?local... Four Keys Book Arts marbled papers and handmade books are available for sale in my Etsy shop, with worldwide shipping available: https://etsy.me/2VGqhcr Follow me on social media: Instagram / four_keys_books Facebook / fourkeysbookarts All original works of art in this video are copyrighted exclusively by Four Keys Book Arts.
Comments